You’ve taken the plunge, set up Google Workspace, and verified your domain. You’re ready to do business.
But then a client tries to send you an email, and it bounces straight back to them with an ugly “Address not found” error.
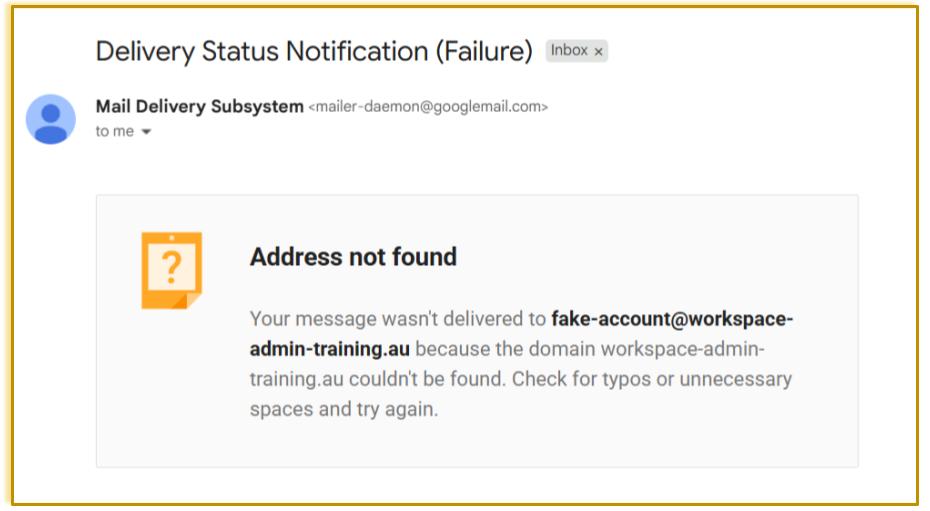
The culprit here is almost always your MX (Mail Exchange) records. Think of them as the digital postie instructions that tell the rest of the internet exactly where to deliver your mail. If these aren’t pointed to Google, your emails go missing.
The good news? Even if you’ve never touched a DNS setting in your life, you can fix this yourself in less than five minutes. Here is exactly how to do it.
The Solution: A Step-by-Step Walkthrough
To get your emails landing safely in your Gmail inbox, you need to update the settings where your domain name lives (your domain registrar, such as Digital Pacific, GoDaddy, or Squarespace).
Step 1: Open Your DNS Settings
Log into your domain registrar dashboard. Look for your domain name and click on Manage DNS or DNS Settings.
Step 2: Clear Out the Old Rubbish
Before you add Google’s records, look at your existing list of DNS records. If you see any old MX records from previous email providers (like Zoho, cPanel, or an old web host), delete them first.
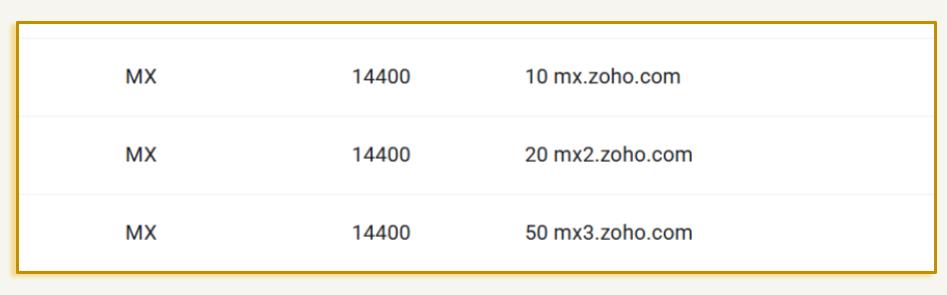
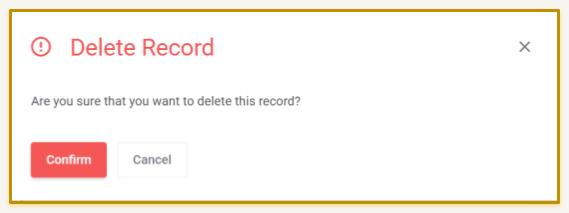
Warning: Having multiple MX records pointing to different email providers will absolutely break your email system!
Step 3: Add the Google MX Record
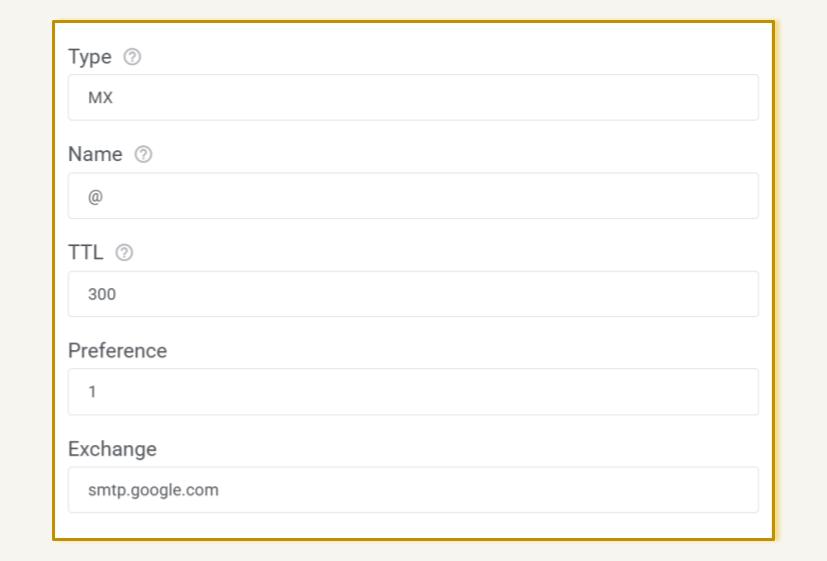
Click Add Record and fill out the fields exactly like this:
- Type: MX
- Name / Host: @ (Note: If your provider rejects the @ symbol, simply leave this field blank).
- TTL (Time to Live): Set this to the lowest possible value, such as 300 (which stands for 5 minutes). This ensures the change happens fast.
- Priority / Preference: 1
- Value / Exchange / Destination: smtp.google.com
Step 4: Verify It’s Working
Don’t just assume it worked—test it. Go to a free tool like https://mxtoolbox.com, type in your domain name, and click MX Lookup.
If you see a green tick next to “DNS Record Published,” you are good to go.
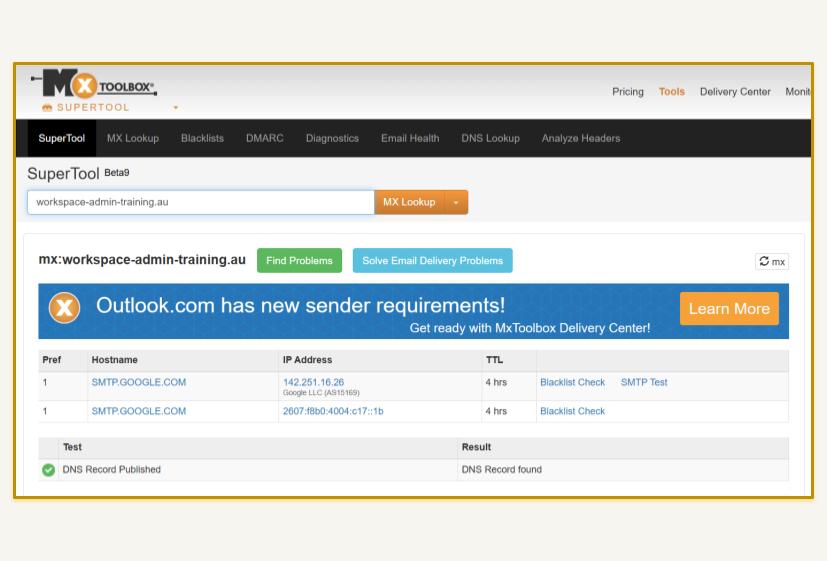
If you see a red cross, don’t panic. DNS changes can sometimes take a little while to travel across the internet. Wait an hour (or whatever time you set in your TTL field) and check it again.

Hi, I’m Priya! I’m a certified Google Workspace Administrator and Product Expert who speaks ‘human’, not I.T.
I help small business owners stop wrestling with their Google Workspace and start using it to grow.
Leave a Reply