This is such a cool Google Calendar feature and it really isn’t publicised enough. I’d like to thank my fellow Google Calendar Product Expert Neil of GCalToolkit for bringing it to my attention. (And on a separate note, you should definitely check out his work – especially if you’re working on events in bulk or have to shift and copy groups of events for irregular schedules.)
So what is this feature? Well basically it takes the ‘publish event’ functionality of Google Calendar and allows you to create an event template that anyone in your business can use – if you’re a sole trader or solopreneur then that’s obviously just you, but if you’ve got consultants or contractors working with you then this may be handy as well.
Follow the steps
So the first thing to do is create the event just as per normal. However you must do this on your computer as not all the steps are available on the mobile app.
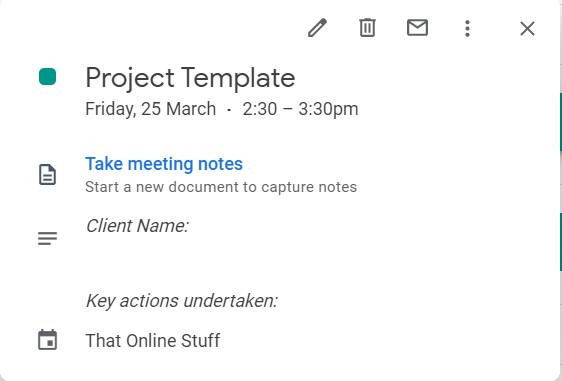
In this case I’ve created an event with some dot points that need to be included for each event. I’m basically looking to keep a record of every time I work on particular projects with just a couple of notes about the project
Once you’ve entered all the information you want, click on Save. Then click on the event again, and click on ‘More options’ (the 3 vertical dots in the top right of the event details) and click on ‘Publish Event’.

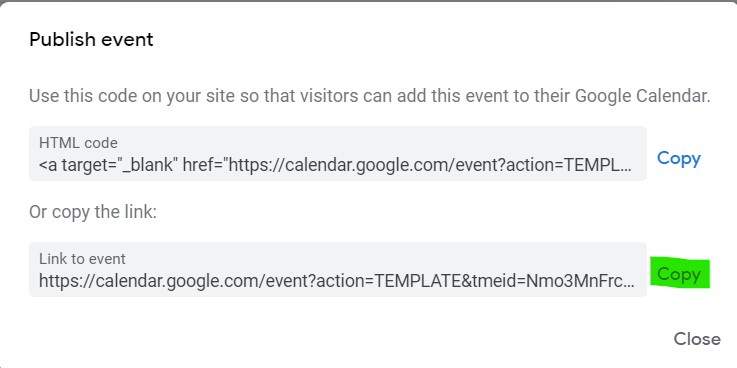
Now click on ‘Copy’ next to the Link to event box and then click on Close.
Now open a new browser tab and paste that link into the URL box. You’ll see the full event details box will be displayed. What you want to do now is mark this page as a bookmark – name it something meaningful (I’ve called mine Project Template) and put it somewhere you’ll find it easily again. For me, that’s the bookmarks bar but you might want to put it into a specific folder.
Now, when you want to create that same event again, just click on the bookmark and change the date (and time if appropriate); fill in the details in the description field and click on ‘Save’. In my particular example I’d update the name of the event as well to include the Project Name so I can easily find it again in a later search.
Why not just find the original event and create a duplicate event?
Good question, well asked. Two reasons really:
One: This method reduces the number of clicks to create a templated event to just one – clicking on the bookmark link. And you can click on that link from any webpage – you don’t have to open a Google Calendar webpage, search for the event, click on the event, click on More Options / Duplicate and then make the changes. So it’s much quicker and easier.
Two: This method can be very useful if you want other people (who don’t have access to your calendar) to create an event using the exact same template. If that’s one of the reasons why you want to use this method then you will first need to publish your overall calendar.
Sharing the link with other people
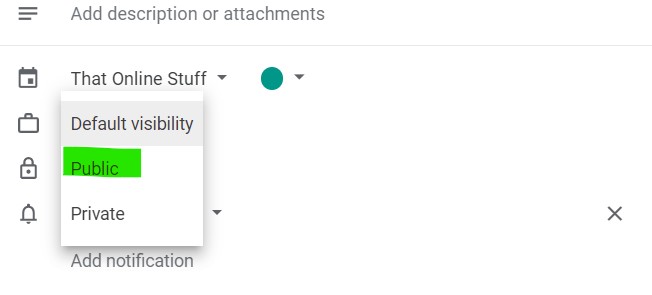
I recommend creating a separate calendar entirely and making it public rather than using your own personal calendar in this instance. Once you’ve created the individual event in this public calendar you need to change the default visibility to ‘Public’. You can do this before you save the event if you remember in time, but if you’re like me you’ll probably only remember after you’ve saved it!
Then publish the event – click on the event again, and click on ‘More options’ (the 3 vertical dots in the top right of the event details) and click on ‘Publish Event’.
Click on ‘Copy’ next to the Link to event box and then click on Close.
Once you’ve published the event you can copy that link and send it to anyone and as long as they’ve got a Google account then they can create a version of that event and add it to their own calendar.
Why not just use the Meeting Notes template that Google’s recently added to Google Calendar?
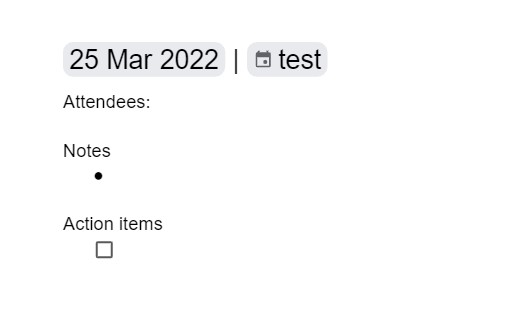
Again that’s a really great question. Essentially Meeting Notes are tied to all instances of an event, so once you create a Meeting Note, you get the same note everyt ime you copy or duplicate that particular event.
That’s very handy if you’re running a series of repeat events and you want to keep adding to the original Meeting Note but it’s not very handy if you want separate, individual events that just happen to share the same format.
Also, there’s no way to create a specific style of Meeting Note template at the moment – you have to use the version that Google has decided upon,
It’s not bad, but the whole point of this post is to help you create an event template that works for you and your business!
Leave a Reply