A few days ago I wrote about Getting Started with Google Tasks and today I thought I might go a little further into how you as a sole trader, professional or independent contractor can use this light-weight but extremely handy application from Google.
If you haven’t looked at the earlier post then please do so as I’m going to assume that most people reading this post will have a working knowledge of Google Tasks and dive straight into it.
Work with multiple lists
By default, Google Tasks starts off with one list My Tasks. You may wish to add more lists though – particularly if you have multiple clients or activities going on. I’ve found it is a good way to segment tasks by clients, projects or even personal vs business tasks.
Create a new list on your computer
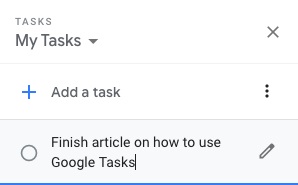
To create a new list click on the blue Task icon from any sidebar. Click on the drop down arrow next to My Tasks and click on Create new list.
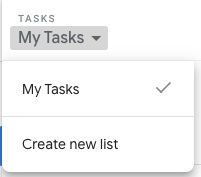
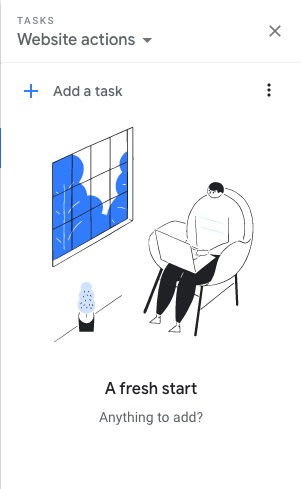
Then name the list and click on Done. You’ll see the blank Tasks screen now and can either add new tasks from scratch, from email or by moving tasks from an old list to the new list.
Create a new list on the Google Tasks mobile app
From the Google Tasks mobile app tap on the bottom left menu (3 horizontal bars). Tap on Create new list and enter the list name. Tap on Done when you’re finished.
Renaming and deleting lists
You may find you don’t need to create more lists – just rename the original one to something more meaningful. Or maybe down the track you want to delete one of your additional lists – hey it happens!
On your computer – Click on the More icon (the 3 vertical dots) and click on Rename list. Type in your new name and click Done when finished.
To delete a list click on the More icon (the 3 vertical dots) and click on Delete list. Warning, this will also delete any tasks associated with that list. If you want to keep the tasks, move them first to another list.
On the mobile device – tap on the More icon (the 3 vertical dots at the bottom right of the screen) and tap on Rename list. Type in your new name and click Done when finished.
Just like on the computer, if you want to delete a list, tap on the More icon (the 3 vertical dots at the bottom right of the screen) and tap on Delete list. Again, this will delete all tasks from that list – you have been warned!
Sorting tasks
You can choose to sort tasks either by due date or by the order they were entered (My Order). If you choose the later then you can also drag tasks within a list to re-arrange the order, but if you choose due date then you’re stuck with that order for your list.
Moving tasks, deleting tasks and marking them as completed
Moving tasks. You can move tasks up and down in a task list if you want to give one task greater priority over another. You can also move tasks between lists.
To move a task up or down click (or tap if you’re using the mobile app) and hold on the task, then drag it to the new spot. All subtasks will move with the task.
To move a task between lists, click on the pencil icon or (tap on the task if you’re using the mobile app). Then click or tap on the drop down arrow next to the Task List name and select the new list. All subtasks will move with the task.
Deleting tasks. If you don’t want to see tasks anymore you can delete by clicking on the pencil icon (or tapping on the task if you’re using the mobile app). Then click or tap on the rubbish bin icon. Note: you cannot recover deleted tasks, once gone, they are gone for good!
You can also delete a task from Google Calendar simply by clicking or tapping on it. (Can’t see tasks on your Google Calendar? Find out how to change that here.)
If you think you’d like to see tasks in future, then it is better to complete rather than delete them.
Completing tasks. To mark a task as complete either click or tap in the radio button next to the task subject. Note: this will mark all subtasks as completed as well.
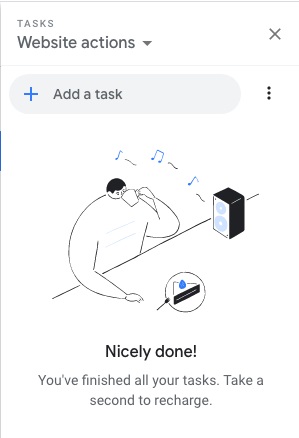
When you finish all tasks in a list you get this lovely screen
Creating Tasks from Reminders
To be honest I have no idea why you might want to do this, but if you have created Reminders on Google Calendar you can import them into Google Tasks – I guess to help keep everything in one spot? Anyway, here’s how to do it, and if you work out why someone might want to do it, please let me know!
Click or tap on the More menu (3 vertical dots) and then click or tap on Copy reminders to Tasks. You’ll see the following screen – if you’d like to delete the reminder after it’s been imported, click or tap on the checkbox. I recommend doing that as otherwise you’ll end up with two notifications about the same thing!
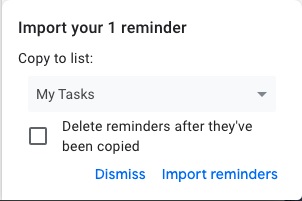
Then select the list you want to add the task to; and click or tap on Import reminders. It will take a second or two for the new task to appear in your list and for the reminder to be deleted from your Google Calendar.
Creating Tasks from Emails
In the first article we saw how to create a task from scratch but sometimes we want to create a task from an email. If you’re a Gmail user then that is pretty easy.
Simply open the email and click on the 3 vertical dots. Click on Add to Tasks.
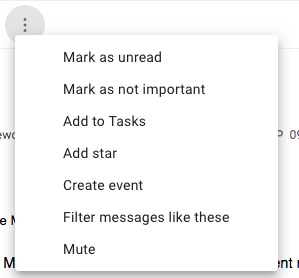
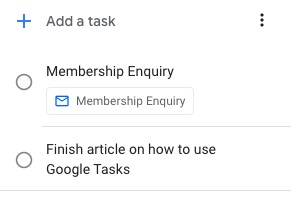
The Task sidebar will open and a new task will have been created automatically with the email attached. The task subject will be the same as the email subject by default.
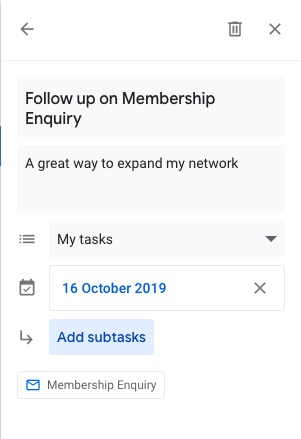
Click on the pencil icon to
- add a date and time to be reminded of the task,
- change the task subject to something more meaningful,
- add details and/or subtasks
- move the task to another list
Alternatively you can use a more manual method.
- Open Gmail and click on the blue Task icon in the sidebar. The Task list screen will open
- Click on the email you want to convert to a task and drag it across to the Task screen. Release your cursor and a new task will have been created automatically with the email attached. You can now change the details by clicking on the pencil icon.
Regardless of how you create the task you can now access it and the associated email from your Gmail; Google Calendar and Google Drive including Docs, Sheets and Slides.
Phew, that was a longer post than I had anticipated writing. I hope it was of value to you!
Get ready to be more productive in 2023
Want to learn how to master your to do list for less than the cost of a chai latte? You’ve come to the right place! My fully revised book gives you a step by step process that really works, using Google’s simple, easy to use, free software.
In less than an hour, you’ll learn how to increase your productivity and manage your to-do list without increasing your stress or the length of your working day.
Leave a Reply